
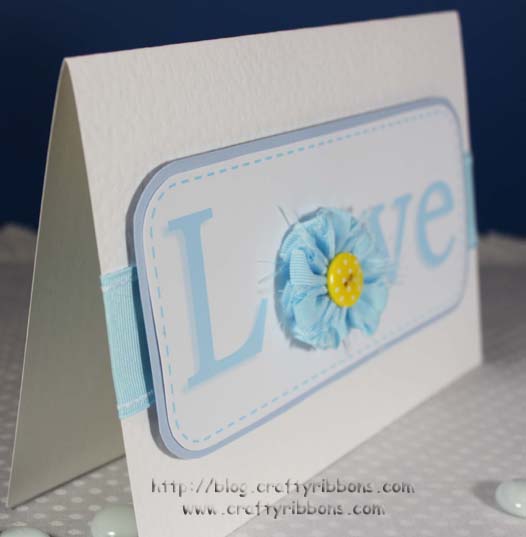
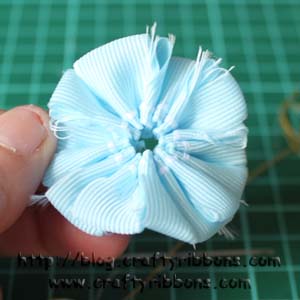
This Shaggy Ribbon Flower looks great and is really easy (I Promise) to make, this side view shows you how shaggy it is!
It is a while since my last tutorial, but here goes. (Apologies for the state of my thumb, I had an accident on Friday with one of the boxes from the WALL.)

1. Gather all your bits together. You will need a needle and strong thread, a small button (the spotty ones can be found HERE). The ribbon I used is a 22cm length of 40mm Grosgrain (HERE), but you can use any ribbon width, just change the length that you use.
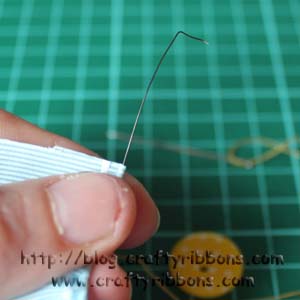
2. My grosgrain ribbon had wired edges, so I just eased back the ribbon to find the end of the wire, then pulled it out. Repeat for the other side.
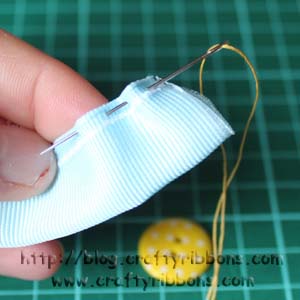
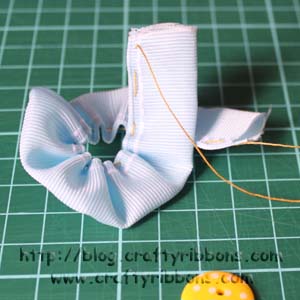
3. Thread the needle with strong sewing thread, you have to pull the thread really tight, so test the thread first to make sure it will not break, put a knot at the end of the thread. Fold the ribbon in half width-wise and sew along the top edge, do not make your stitches too small, about 8-9mm and the same distance from stitch to stitch.
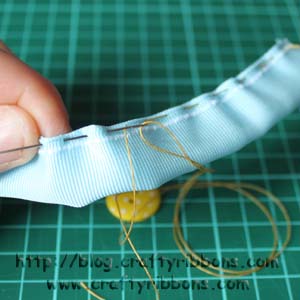
4. Continue sewing along the length of the ribbon.
5. Once all sewn, it should look like this, remove the needle and open up the ribbon to remove the gathers.
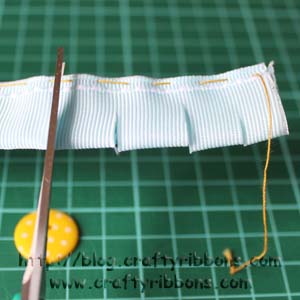
6. Snip the ribbon about 1cm apart, do not go all the way to the sewn line. Continue snipping all the way along the length of ribbon.
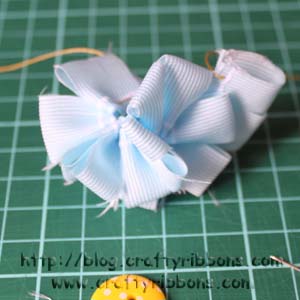
7. Gather up the ribbon, pull it really tight and knot the thread to hold the gathers in place. Make a second knot to be safe.
8. Your ribbon may have already started to fray, if not rub it between your thumb and fingers. This will loosen the fibres where it has been snipped.
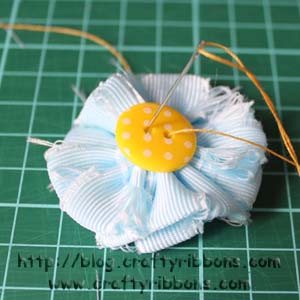
9. Sew the button to cover the hole in the centre of the flower.
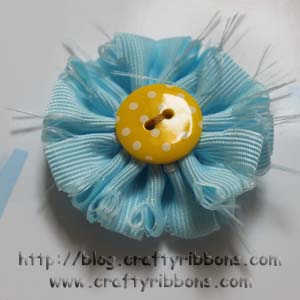
Finished Shaggy Ribbon Flower.
I enjoyed making that, I now have a collection in different colours. You do not have to use grosgrain ribbon, have a play with other types. The more open weave the ribbon is the better "Shaggy" effect it will give.

 my basket